Focaccia
Learn how to make this Focaccia recipe with the voice-activated cookbook iPhone app, Myka.


Servings
4
Cook In:
25 mins
Prep In:
72 hours
Method:
Bake
Introduction
Focaccia
By: Sous Chef Myka
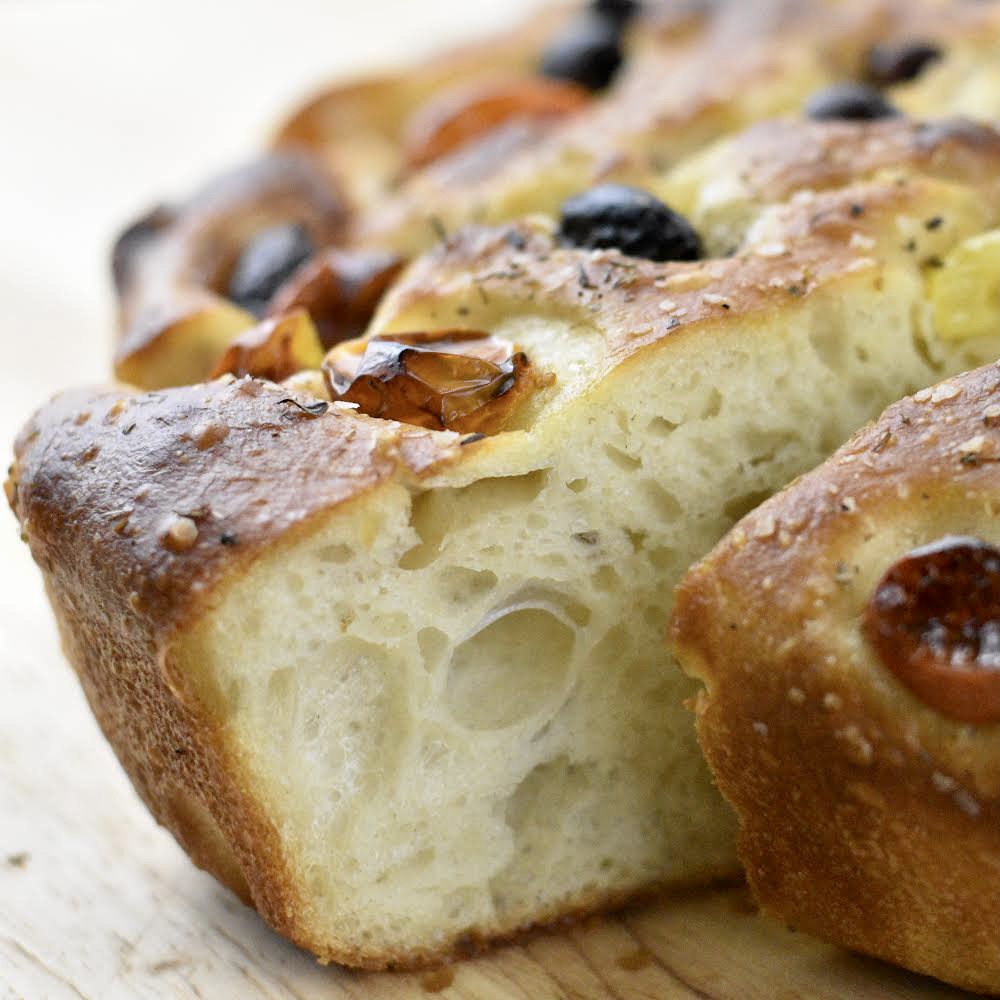
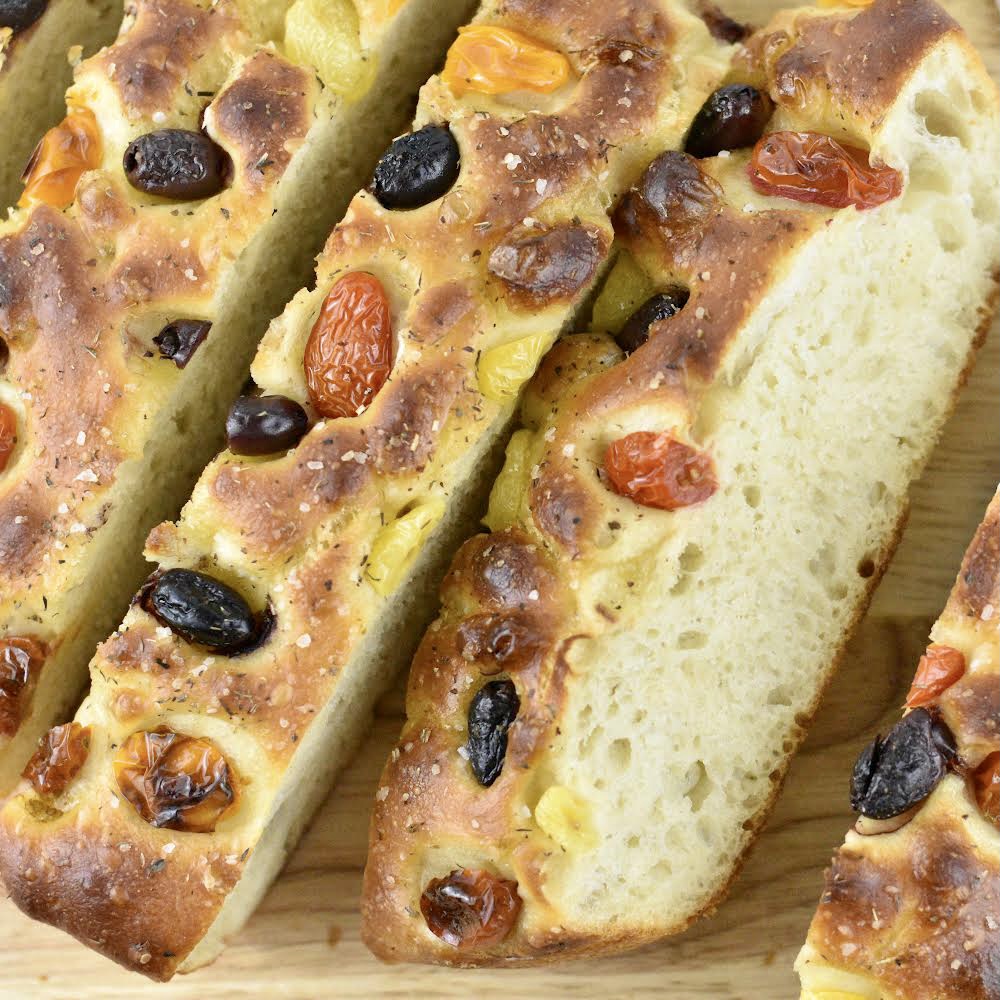
When it comes to breads, just about nothing beats a fresh, oven-baked focaccia. This flatbread is crusty on the outside but fluffy inside, and it makes an excellent side dish, is perfect for sandwiches, and can be eaten all on its own.

-
400 Grams Lukewarm Water
-
½ Tsp Active Dry Yeast
-
2 Tsp Honey
-
500 Grams All-Purpose Flour
-
10 Grams Kosher Salt
-
20 Grams Olive Oil
-
3 ½ Tbsp Olive Oil
-
Flour
-
Coarse Salt
Focaccia
Hi Chefs, Myka here 👋
Fresh-baked focaccia bread is something that’s worth the wait. Sure, it needs to proof for at least a day, but trust me, it’s going to be worth it. To make this focaccia, you’ll start off with a fairly common bread recipe: you’ll whisk lukewarm water, dry active yeast, and honey, and you’ll combine that mixture with some flour and salt. After your dough is prepared, let it rest for at least 24 hours (and for up to three days).
Here’s where things get a little different. You’ll oil a cast iron skillet, and spread the dough over the surface. After that, let the dough rise to room temperature, before pressing in any add-ons (cherry tomatoes, olives, herbs, and garlic are all great choices).
Don’t forget this tip: place a baking stone or cast iron pan, turned upside down, in the oven, let it heat up, and place your focaccia skillet on top of this surface during baking, to ensure a golden brown bottom.
Happy cooking!
Step by Step Instructions
Step 1
In a small bowl, whisk together 400 grams of lukewarm water, ½ teaspoon of active dry yeast and 2 teaspoons of honey to dissolve. Set aside.
Step 2
In a large bowl, add 500 grams of all-purpose flour with 10 grams of kosher salt and whisk to combine.
Step 3
To the flour, add 20 grams of olive oil and the yeast mixture from step 1. Stir with a rubber spatula until just combined.
Step 4
Cover with plastic wrap, then let rest at room temperature for 1 hour.
Step 5
After 1 hour, remove the plastic wrap but don’t discard. Using oiled hands, slide your fingers under the sides of the dough and lift up until the dough has released from the bowl and then set it back down in the bowl.
Step 6
Turn the bowl 90° and repeat the process of lifting and stretching the dough. Continue this process two more times for a total of 4 times.
Step 7
Cover tightly with the reserved plastic wrap and let rest for 20 minutes.
Step 8
After 20 minutes, repeat the lifting and stretching process 1 more time, then cover tightly with plastic wrap and refrigerate for at least 24 hours and up to 3 days.
Note: For best results, it is suggested to refrigerate for the full 3 days.
Step 9
After proofing in the refrigerator, remove the dough and let it sit at room temperature for 10 minutes.
Step 10
Sprinkle the top of the dough lightly with flour, then transfer it to a lightly floured work surface.
Step 11
Shape the dough by holding it with well-floured hands and tucking the dough underneath itself, rotating it until it forms a tight ball.
Step 12
Pour 2 tablespoons of olive oil into a 10 or 12” cast iron skillet and spread over the entire surface, including the rim.
Step 13
Transfer the dough to the skillet and turn to coat the dough in olive oil. Position the dough, seam side down, and spread the dough with your hands so it fills the pan.
Step 14
Cover tightly with plastic wrap and let rise at room temperature until dough has doubled in size. Approximately 1 ½ to 2 hours.
Step 15
One hour before baking, place a baking stone or cast iron pan, turned upside down, onto the lower middle position of your oven and preheat to 500℉.
Step 16
Just before baking, use your fingertips and gently press the dough to form dimples.
Step 17
Drizzle an additional 1 ½ tablespoons of olive oil onto the dough and sprinkle with coarse salt.
Note: Now is the time to add any other toppings you wish, such as cherry tomatoes, olives, herbs, garlic, etc. Be sure to gently press the toppings into the dough.
Step 18
Transfer the skillet to the oven and place it on top of the baking stone or inverted cast iron skillet. Bake the dough for approximately 25 minutes or until the top and bottom of the focaccia is golden brown and crisp.
Step 19
Once the focaccia has baked, remove it from the oven and let cool for 5 minutes in the skillet and then transfer the focaccia to a wire rack.
Step 20
Let cool for at least 10 minutes before slicing and serve warm.
Myka, also known as “My Kitchen Assistant,” is a voice-enabled recipe builder which allows you to effortlessly follow and create recipes. You can read more about Myka’s story by clicking here.


